
Swirl marks
The fine web of circular scratches that shows up under direct sun and dealership lighting. Almost always from wash technique.
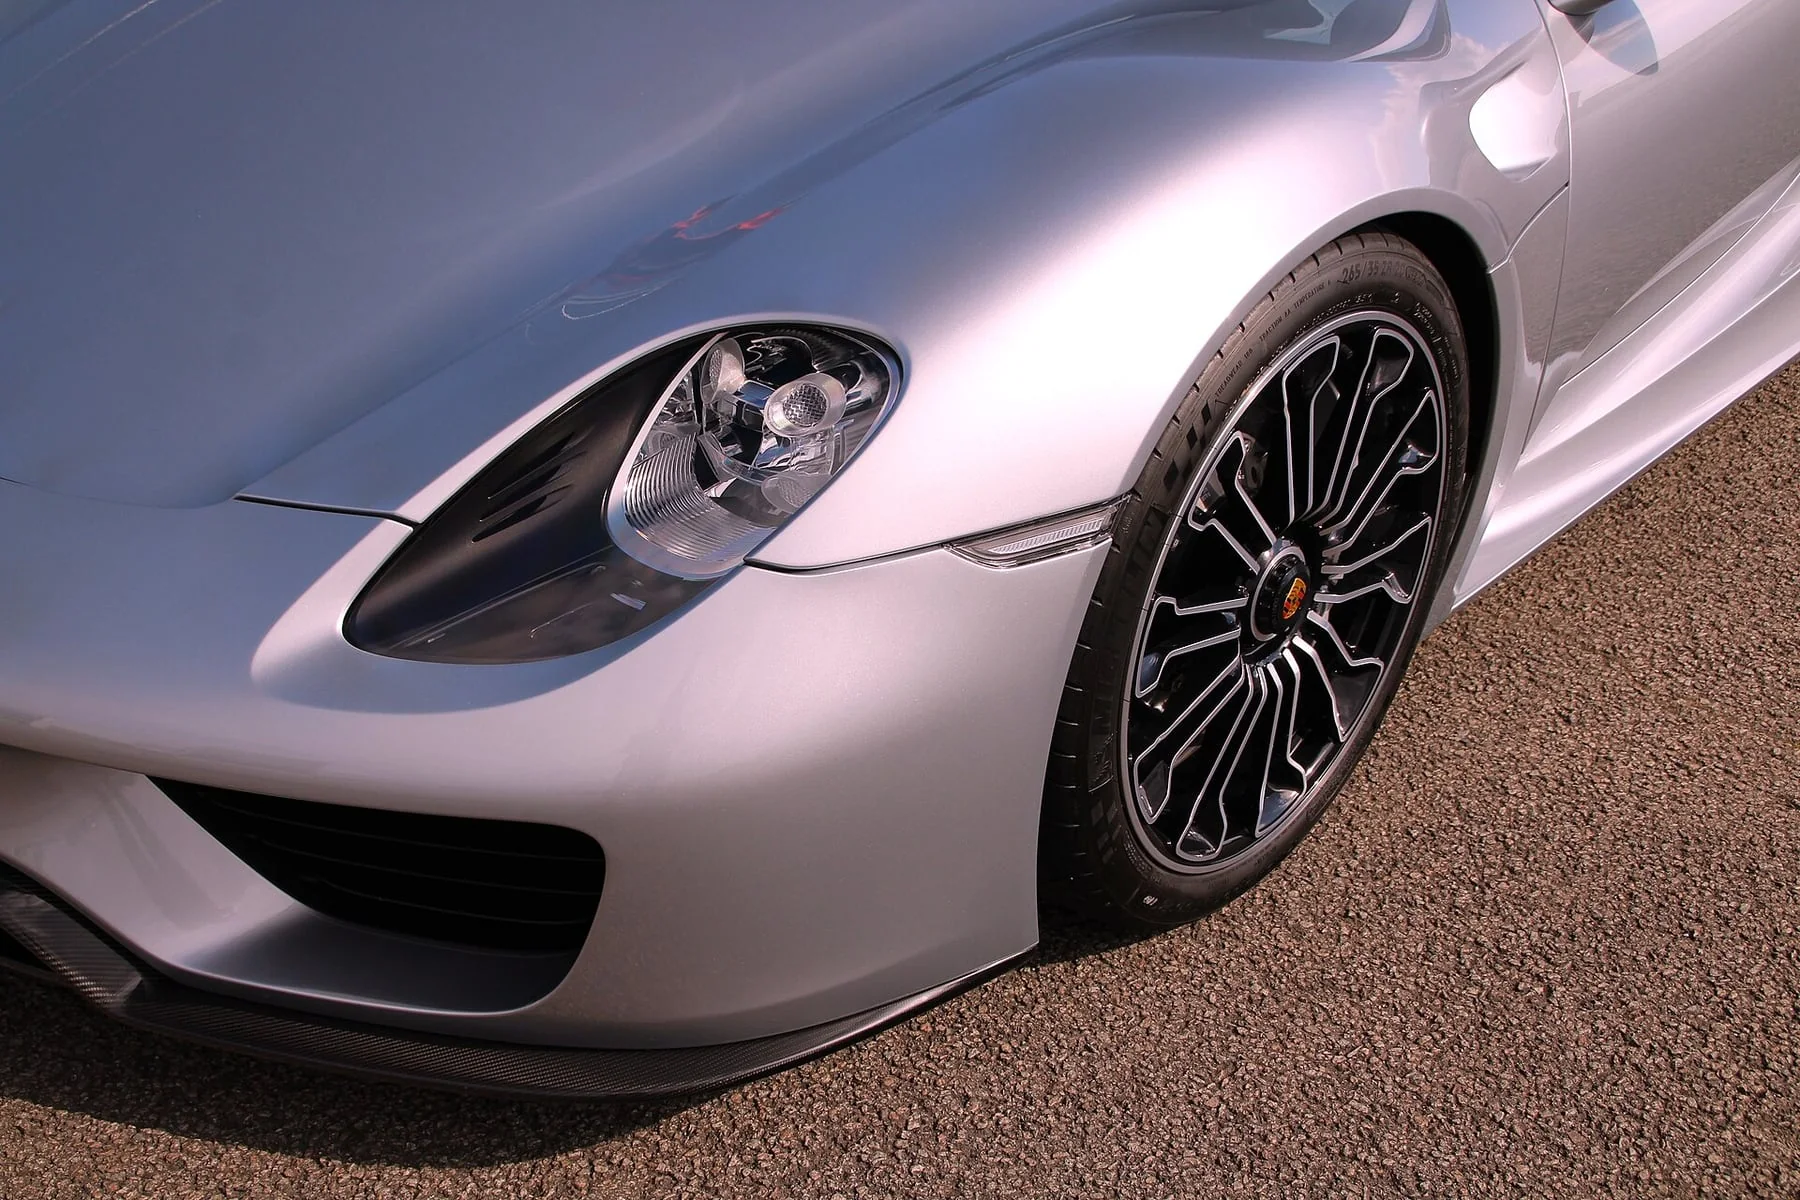
Swirl marks, wash scratches, and oxidation come out of the clear coat, not under a glaze that fails in the first rain.
Book NowOne, two, and three-step corrections · Paint enhancement starting from $424.99
What it does
A glaze or a filler wax hides swirls for a few weeks and they come back with the first rain. Machine polishing levels a few microns of clear coat instead, so the scratch is gone rather than packed.
After every stage we wipe the panel down with isopropyl alcohol. That strips the polishing oils and shows what the paint actually looks like, which is the only honest way to judge a correction before it leaves.
The fine web of circular scratches that shows up under direct sun and dealership lighting. Almost always from wash technique.
Light surface scratches level out in one pass. Anything you can catch a fingernail in needs a heavier stage or a body shop.
Chalky, flat paint from years of coastal sun. Common on red and black cars parked outside along the 78 corridor.
Hard water and sprinkler minerals that have etched into the clear coat. Sea air and morning marine layer make these worse here.
Correction packages
The number of stages is decided by how deep the defects run. Every correction includes a ceramic sealant (up to one year). A coating is the longer option.
4 to 6 hours · estimated 40–50% defect removal
Starts with an Executive Exterior detail. The one-step polish is $200 on a coupe or sedan and $300 on a truck or SUV.
One polishing stage focused on adding gloss to your paint. It may also reduce some swirls and light scratches, depending on the paint condition.
Most requested
7 to 9 hours · estimated 65–75% defect removal
Starts with an Executive Exterior detail.
Cut the defects, then refine the haze the compound leaves. The usual path for daily drivers.
Full day, sometimes two · estimated 80–90% defect removal
Starts with an Executive Exterior detail.
Isolated wet sanding, then compound and refine. For deep marks and a show-level finish.
“Great attention to detail.”
Included every time
The prep and the protection are the same at all three levels. Only the polishing stages change.
How it runs
Depth gauge readings and a light inspection map what is in the paint and how much clear coat there is to work with.
Wash, iron removal, and clay. Polishing over embedded grit drags it across the panel and adds fresh scratches.
One panel gets corrected first to settle on the pad and polish combination before the rest of the car is touched.
Panel by panel, passes overlapped and checked as we go. Edges and body lines get worked by hand where the machine cannot sit flat.
Alcohol wipe-down after each stage, then a second inspection under the lights to confirm the defect is gone rather than filled.
Sealant, trim, and tires. Corrected paint is bare and needs covering, so a ceramic coating upgrade makes the most sense right here.
Planning your service
A correction starts with the paint that is on the vehicle today. Past polishing, repaired panels, and the way you wash all matter when deciding how far to go.
_01
Mention resprays, previous corrections, ceramic coating, and film. Include close photos and a wider panel view in daylight. A photo helps with planning; the paint inspection sets the working limit.
_02
Some defects should remain to preserve the finish. Julian checks the paint and a test section before recommending the correction level. Point out your main concern rather than selecting the most aggressive package first.
_03
Correction packages include ceramic sealant. If you want a ceramic coating, discuss it before the appointment so the preparation and application are planned together.
_04
Dirty wash tools and dry wiping can put fresh marks into corrected paint. Discuss how you wash, dry, and park the car at the walkthrough; choose upkeep you can actually follow.
After the service
Point out the panel and viewing angle where you first noticed the marks. At the walkthrough, review those areas as well as the defects that were deliberately left. Keeping that distinction clear helps you judge the result against the agreed scope.
If both are on your list, discuss them as one project. The paint is cleaned and corrected before the coating is applied. An existing coating or repaired panel needs review before polishing, so share that history with Julian.
Compare coating packagesCommon questions
Yes, when the paint is measured first. Clear coat is finite and every correction removes a few microns of it, so we take depth readings before any aggressive step and stop well short of the limit. If a panel reads thin, we tell you and back off.
Choose One-Step Enhancement for added gloss, with an estimated 40–50% defect removal. It may reduce some swirls and light scratches. Two-Step Correction targets 65–75% removal, and Three-Step Correction targets 80–90%. We inspect the paint to recommend a tier and confirm what can safely be removed.
The correction itself is permanent. Those scratches are gone until new ones get put in, which is why wash technique matters so much afterward. What wears off is the protection on top, up to one year for the included sealant and years for a ceramic coating.
Give it 30 to 60 days to cure first. After that we can level sanding marks, buffer trails, and texture left by the body shop so the repaired panel matches the rest of the car.
We arrive with our own power and water and can work in a driveway. Correction is better out of direct sun, though, so a garage, carport, or shaded driveway gets a cleaner result and a faster day.
Oceanside, Carlsbad, Encinitas, Vista, San Marcos, Escondido, Poway, Rancho Bernardo, and the rest of North County, plus greater San Diego by arrangement. See the full service area.
Before polishing
Light swirls and deeper damage take different work. See how the paint’s condition and the number of polishing stages affect the price.
Heavy oxidation, lifted vehicles, and single-stage paint are quoted after we see the car.
Book Now